How to run Arma II as a Windows Service with FireDaemon Pro.

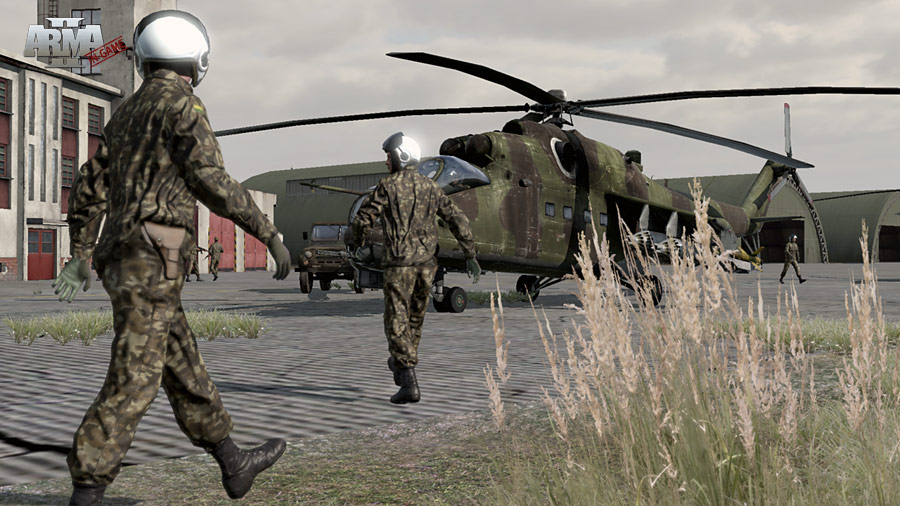
Arma II is a first-person war game that takes place on a massive multi-hundred square km map. Vehicles, dynamic day/night cycles, and physics make this game epic.

ARMA II dedicated server can be run as a Windows service using FireDaemon Pro. This allows you to start and run the dedicated server automatically when Windows boots and before login. FireDaemon Pro also allows you to start multiple instances of the game server, monitoring them and automatically restarting those instances in the event they crash. FireDaemon Fusion can also be used to manage your ARMA II service, plus other Windows services via your web browser.
ARMA II Server Setup Under FireDaemon Pro
Please follow the steps below to set up an ARMA II dedicated server as a Windows service with FireDaemon Pro
Step 1: Download and Install SteamCMD for Windows
SteamCMD is a command-line version of the Steam Client. Its primary use is to install and update various dedicated servers available on Steam using a command-line interface.
- Create a folder on your system, for SteamCMD, C:\SteamCMD
- Download SteamCMD to this folder. A single ZIP file steamcmd.zip is downloaded.
- Extract the contents of the ZIP file into the folder. A single program file, steamcmd.exe, is extracted.
- Double-click steamcmd.exe. This will download SteamCMD and corresponding support files into the C:\SteamCMD folder.
Step 2: Download and Install FireDaemon Pro
- Download FireDaemon Pro installer
- Double-click installer and follow the installation wizard to complete the installation.
- For more information about installing FireDaemon, see the FireDaemon Pro Users Guide.
Step 3: Download and Install ARMA II
ARMA II: Operation Arrowhead requires a Steam account that owns the game to install the server files. Replace USERNAME with your Steam username and PASSWORD with your Steam password. You will need to enter a verification string if your steam account has SteamGuard enabled. The verification string will be sent to the email you set up as your steam account email. This string only needs to be filled in once.
- Download the ARMA II files via the Steam SteamPipe servers. Go to the directory where you installed SteamCMD and create a shortcut to "SteamCMD.exe". In the shortcut, edit the properties and in the target box, at the end of it (with a space before the following), put:
+login anonymous +force_install_dir "C:\ARMA II" +app_update 33910 validate +quit

If the game successfully downloads, the command window will close on its own. Otherwise, it will stay open and tell you what went wrong (most likely you don't have enough free disk space).
Step 4: Install Dot Net Framework 4.6.1
The game includes Dot Net Framework 4.6.1, install it from "C:\ARMA II \_CommonRedist\DotNet\4.6.1\NDP461-KB3102436-x86-x64-AllOS-ENU.exe"
Step 5: Set Up ARMA II as a FireDaemon Pro Service
Double click the FireDaemon Pro icon on your desktop, then click on the New (i.e. +) button in the toolbar (or type Ctrl + N) to create a new service. Enter the information into the fields as you see below. Adjust the path names to suit your installation. Note the required parameters.

The most important field on the tab is the Parameters. The Parameters define the initial setup of your server. The full parameter list should be as follows:
-ip=1.2.3.4 -port=2302 "-config=pathto\config.cfg" "-cfg=pathto\basic.cfg" "-profiles=YourProfile" "-mod=@mod1;@mod2" -cpuCount=2 -exThreads=7 -bandwidthAlg=2 -maxMem=2047 -noSound
- "-ip" It's useful to define this if your server is behind a NAT router or if your server machine has multiple IP's and you only want the server to listen on one IP. If you are hosting the server from home or do not know your server IP, then on the server, go to the following website to find your external IP address: http://WhatIsMyIp.com
- "-port" This set's the server port. It should be left on default unless you are running multiple servers on the same IP.
- "-config" Loads the server config file.
- "-profiles" Loads/saves profiles to the specified directory. This should be set as the default location to save profiles is in your users folder of windows and it's better to have all your configs in the same directory.
- "-mod" This one is not needed if you are running an ARMA II/OA server with no mods. If you are running mods, you would put each mod name prefixed with an @ symbol and separated by a semi-colon. Replace @mod1;@mod2 with whatever mods you're using.
The next few parameters are performance-related and may be too low or high depending on your server specs. You should research them before using them. If you don't know about them, then do not use them. - "-cpuCount 2" Limits the number of cores your server uses to 2. This is useful to prevent your whole machine from locking up should your server ever use 100% cpu.
- "-exThreads 7" Limits the number of threads your server uses to 7.
- "-bandwidthAlg 2" Changes the bandwidth algorithm to a better-optimized one. This may improve bandwidth usage and management.
- "-maxMem=2047" Limits the maximum amount of memory to 2GB. ARMA 2 servers in general never go above 500MB (even for 50 slot servers), this command is useful to prevent memory leaks.
- "noSound" Disables sound output when the server starts.
Next, click on the FireDaemon Pro Settings tab:

Enter appropriate values in the fields on the Settings tab as follows:
- (Optional) Logon Account: Enter the Windows account under which the game is to be run, e.g. the current user account.
- Password / Confirm Password: Enter the logon account's password twice.
- (Optional) Interact with Desktop: If this setting is enabled (default), the game server's output messages can be seen in the console window on Windows Session 0. To switch to Session 0, it may be necessary to install FireDaemon Zero and ZeroInput. Alternatively, this setting may be disabled, in which case the game server's messages will be hidden.
- (Optional) Priority: To allocate more CPU time to the game server, select a higher scheduling priority in this field.
- (Optional) CPU Bindings: To run the game server on a specific CPU, specify the appropriate CPU in this field.
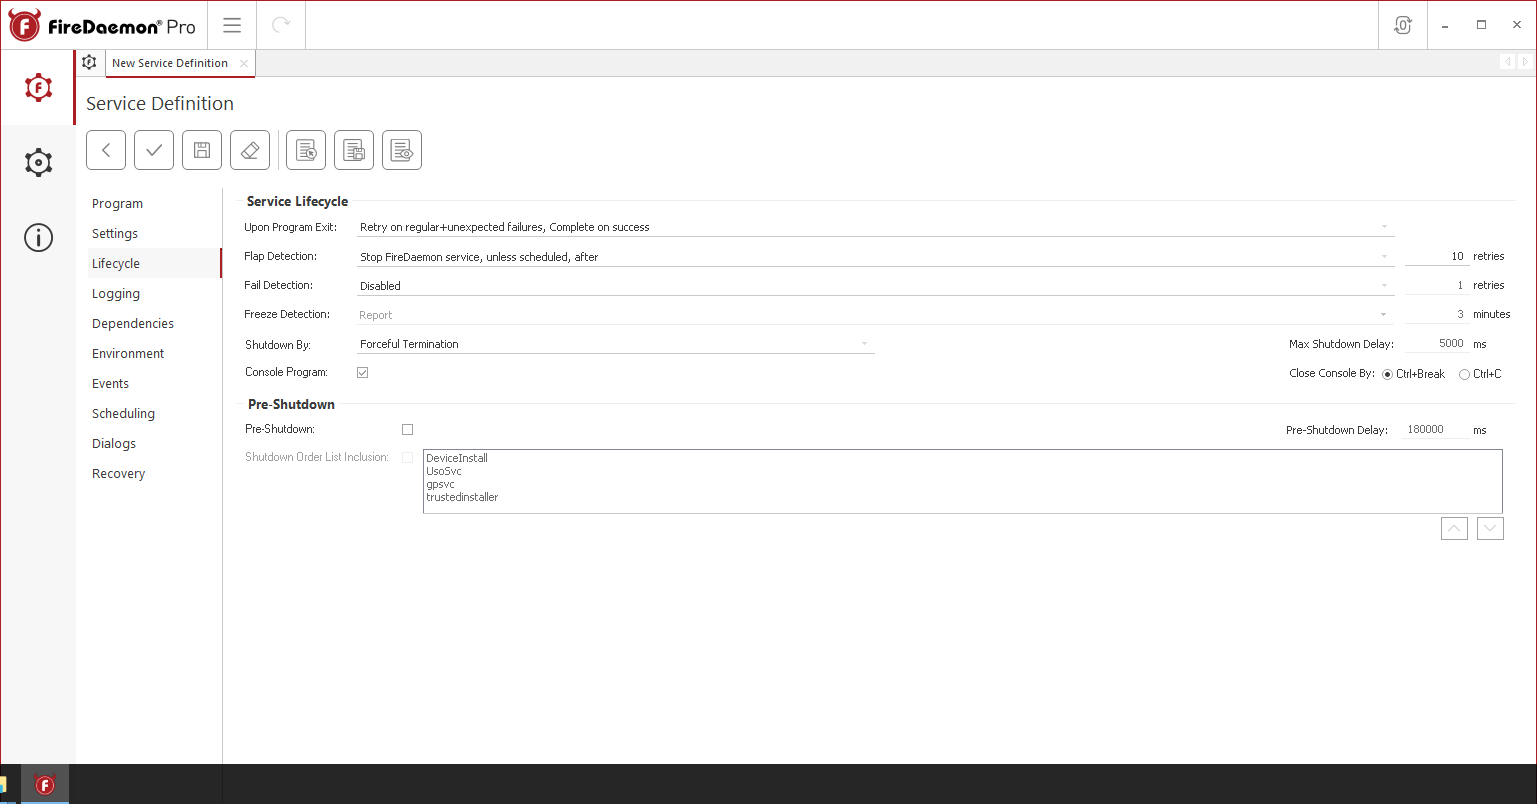
Next, click in the Lifecycle tab. Set Shutdown By to Forceful Termination and check "Console Program".

Lastly, click the Save and Close (ie. the tick) button on the toolbar. If the service's Startup Type is set to Automatic or Automatic (Delayed-Start), it will start immediately.
Step 6: Verify that ARMA II is Running Correctly
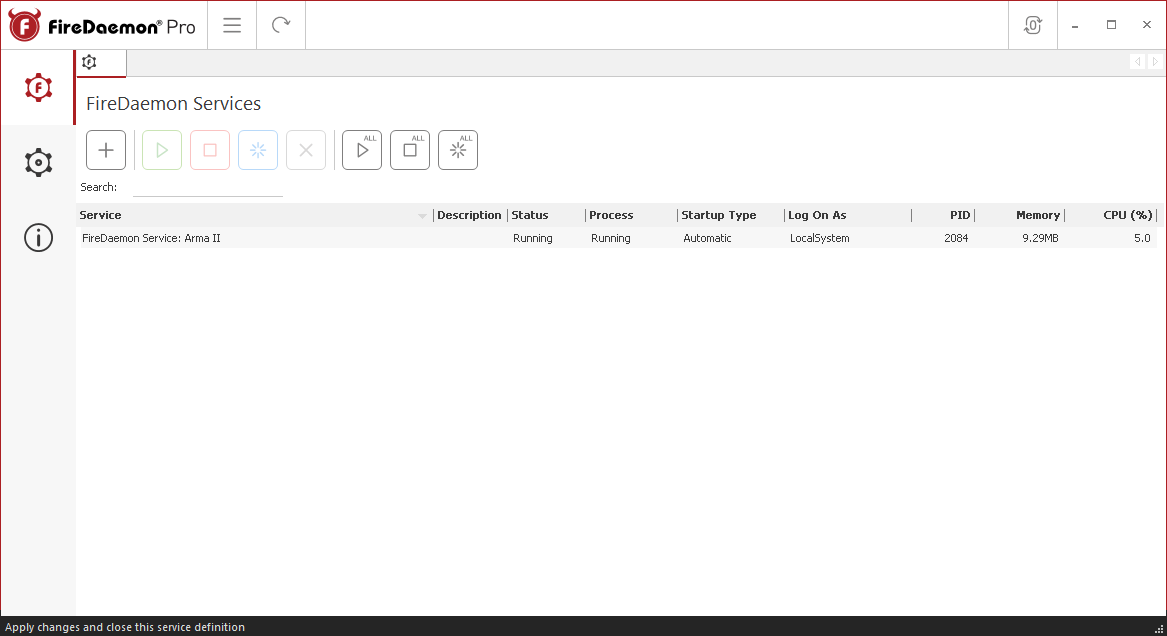
The ARMA II game server's status can easily be checked on the main FireDaemon Pro Services List - look for a Running Status value and a numeric Process ID (PID) value.

If the service's Interact with Desktop setting is enabled, the game status can also be verified by switching to Windows Session 0 to view the game's messages.
